A Vinyl Record Care Routine You Will Actually Keep
Updated on
Nobody abandons a record care routine because it is wrong. They abandon it because it is long. A regimen with nine steps and four fluids gets followed for two weeks and then quietly replaced by putting the record on and hoping. The routine that survives is the one that costs less attention than the annoyance it prevents, which in practice means under a minute for the parts that happen every day.
Format sales say something about why this matters now. A great many turntables in use today are new, sitting in rooms that were never built around a hi-fi, playing records that came from a shop rather than from a careful previous owner. The habits that used to pass from one generation to the next did not come in the box.
vinyl albums sold in the United States in 2025, a nineteenth consecutive year of growth, with revenue passing $1 billion for the first time since 1983
— RIAA year-end revenue report, 2026
The routine at a glance
| Tier | What you do | Time | What it prevents |
|---|---|---|---|
| Before every play | Brush the record, brush the stylus, check the surface under light | About 40 seconds | Dust pressed into the groove by the stylus |
| After every play | Record back into an anti-static inner sleeve, jacket upright, dust cover down | About 20 seconds | Airborne dust settling on an exposed surface |
| Monthly | Wipe platter and mat, clean the dust cover, inspect the stylus, re-comb the velvet | 10 minutes | Dirt migrating back to records from the deck itself |
| On arrival | Wet clean any secondhand record before its first play | 5 to 10 minutes per record | Grime from a previous owner grinding into your stylus |
| Annually | Audit the collection for leaning rows, paper inners, and sun exposure | An afternoon | Warp, abrasion, and mold |
The two occasional tiers at the bottom are covered in detail elsewhere on this site, in how to clean vinyl records and how to store vinyl records. The three that follow are the daily ones.
Before every play
- Handle by the edges and the label. Fingerprints are oil, oil holds dust, and dust in a groove is what a stylus turns into noise.
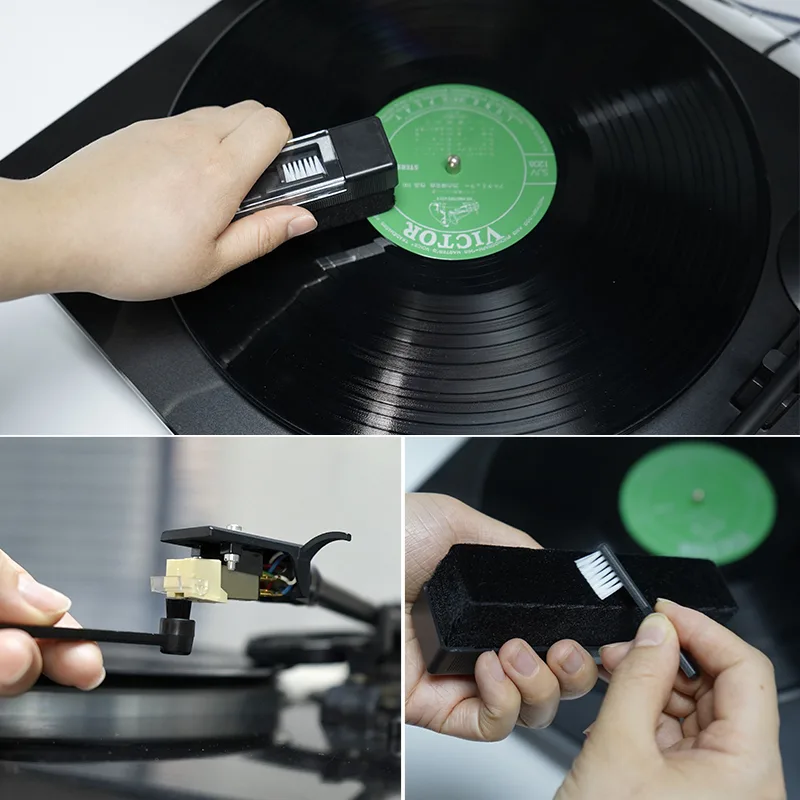
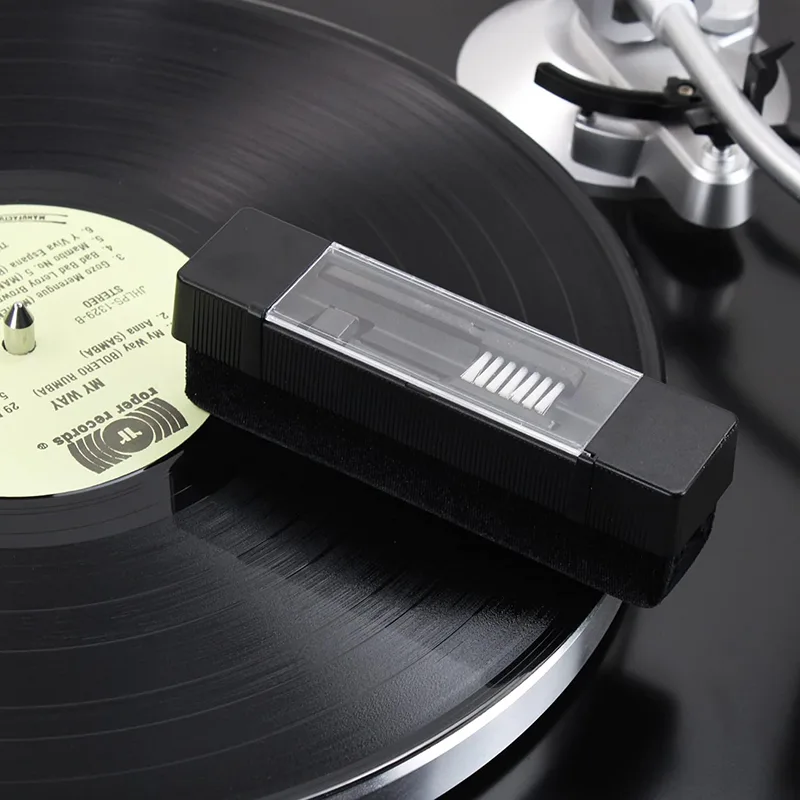
- Brush the disc on the platter. Hold the brush steady against the surface and let two or three rotations pass under it, then draw it off the outer edge in one move so the dust leaves with it.
- Brush the stylus. Three or four strokes from the back of the cartridge toward the tip, never sideways. The full method is in how to clean a record player needle.
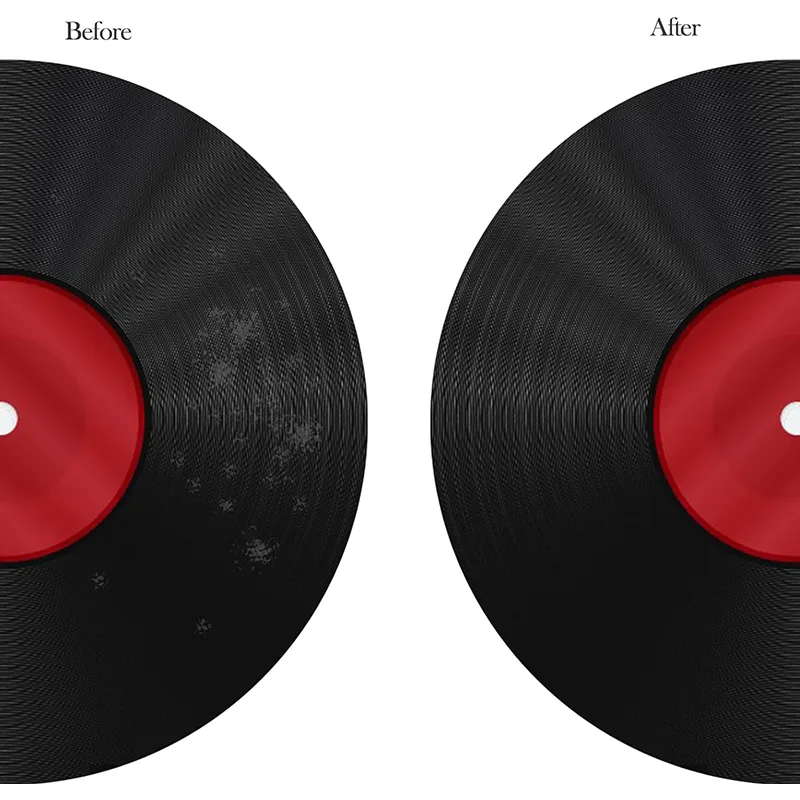
- Look across the surface. Hold the disc at a low angle to a light. Anything you can see at that angle will be audible, and it means the record needs a wash rather than a brush.
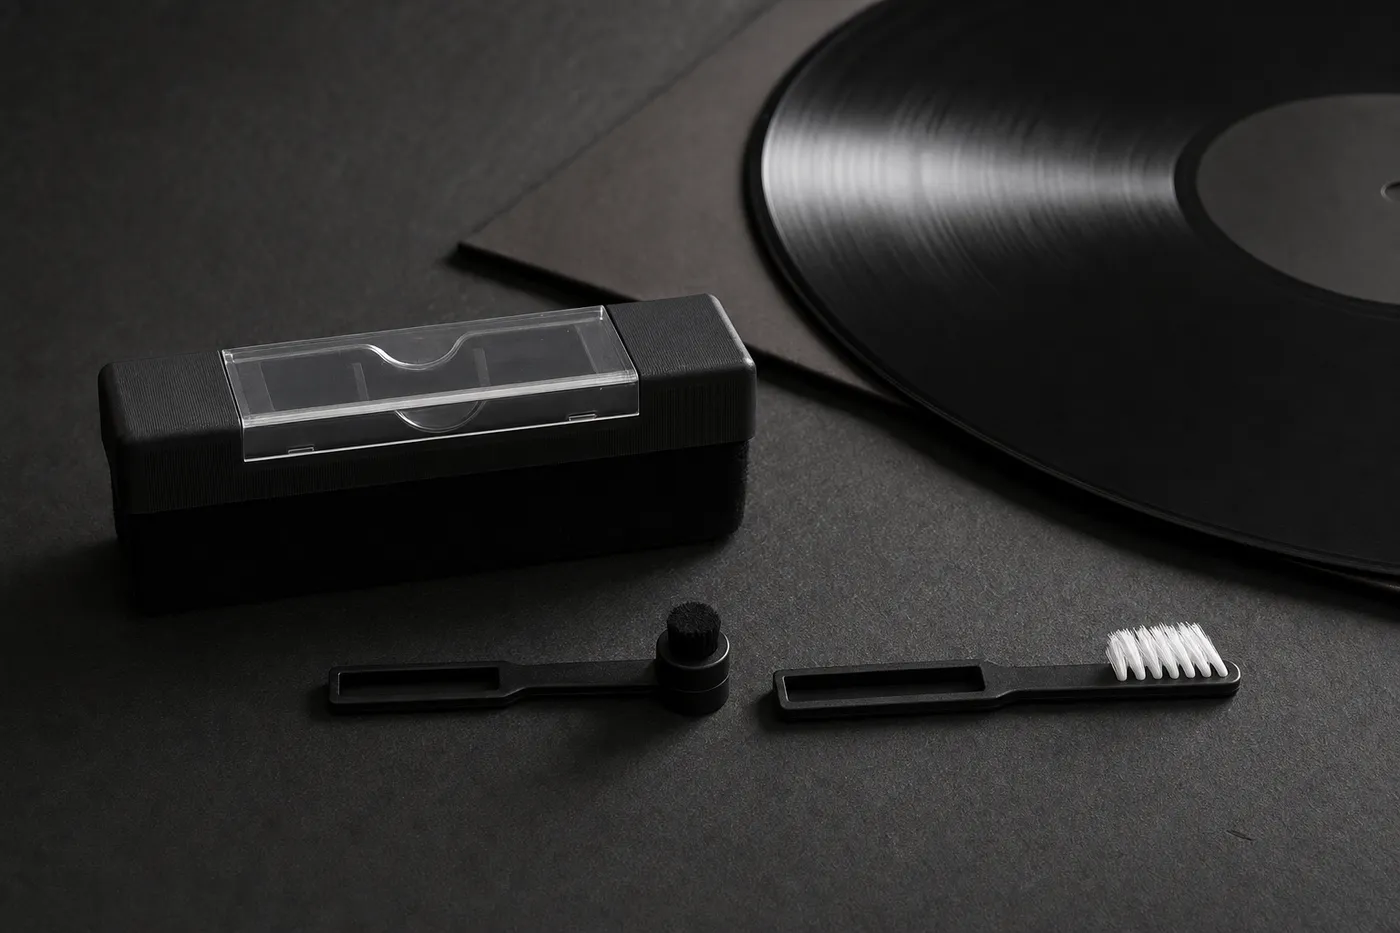
This is the tier our three-piece set was built around. The velvet block does step two, the small angled brush with the black bristle head does step three, and the white nylon detail brush exists to re-comb the velvet when it loads up. The block runs about 4.9 in (12.5 cm) long with a clear sliding cover that keeps the velvet face clean between sessions, which matters more than it sounds when the alternative is a brush sitting open in a dusty room. Details on the record cleaning kit page and the anti-static record brush page.
Across the 47 written reviews in the buyer feedback record (July 2026), our count found dusting effectiveness was the most mentioned theme at 9 reviews, or 19%, ahead of accuracy to the description at 6 and build quality at 5. Three buyers, 6%, complained about slow delivery. The verified buyer feedback sits on the reviews page.
After every play
A quick brush before sleeving is worth the extra ten seconds, because whatever the stylus displaced during the side is now sitting loose on the surface. The record then goes back to a stable environment, which for audio discs means a range of 55 to 70°F (13 to 21°C) and 30 to 55% relative humidity in federal archive guidance, held steady rather than swinging.
(13-21°C) and 30-55% relative humidity, the storage range federal audio guidance gives for discs, with the instruction that it should not fluctuate
The dust cover argument gets contested by people who prefer to play with it up for acoustic reasons. Both positions are defensible during play. Neither justifies leaving it up for the twenty-three hours when nothing is playing.
The monthly pass over the record player
Record player cleaning is the step that gets forgotten because the turntable does not look dirty. A felt mat holds a surprising amount of fiber and passes it to side B of every record. Take the mat off, shake it out, and lint-roll it. Wipe the platter with a barely damp cloth and let it dry. Wipe the plinth. Clean the dust cover with a plastic-safe cleaner rather than a paper towel, which scratches acrylic.
Then look at the stylus properly, with a light and a phone camera if you have one. This is also the moment to update your hour count, because replacement is driven by playing time rather than by the calendar.
published stylus replacement intervals by tip shape, from around 300 hours for conical and elliptical tips up to about 1,000 for microlinear
— Audio-Technica cartridge and stylus support guidance, 2026
Finish with the brush itself. A velvet face that has swept a hundred sides is holding a hundred sides of dust, and a loaded pad is the one way a velvet brush can put dirt back on a record. Two minutes with the white nylon detail brush resets it.
Short answers
How long does a proper record care routine take each day?
About a minute per record, split between forty seconds before the side and twenty after it. The monthly pass over the turntable adds ten minutes. Anything longer than that gets dropped within a month, which is why the routine here is deliberately short.
Do I need to clean a brand new record?
Brush it, yes. New records carry paper dust from the inner sleeve and sometimes a film of mold release from pressing. A dry brush handles the first. If a new record sounds noisy from the start, a wet clean handles the second, and after that it should be quiet for years.
What is the single most valuable habit?
Sleeving the record immediately after play, in an anti-static inner sleeve. It costs twenty seconds, it removes the largest single window for dust to land on a bare surface, and it makes every other step in the routine shorter.
Three pieces for the daily tier
The occasional tiers need fluids, sleeves, and time. The daily tier needs one brush for the record, one for the stylus, and one to keep the first one honest. That is exactly what is in our set. See how it was tested on how we test, or read the buyer feedback on the reviews page.
More guides: all Tonebrush guides · carbon fiber vs velvet · the stylus brush · about Nick Talbot