How to Clean Vinyl Records: The Three Levels That Matter
Updated on
A record starts collecting dust the second it leaves its sleeve. Some of that dust is in the room, some of it is shed by the paper sleeve itself, and a good part of it is pulled in by the static charge the disc builds every time it slides in or out. None of it is dramatic on its own. It becomes dramatic when the stylus arrives, presses a hard particle into a soft groove wall, and leaves a mark that plays back on every future spin.
Most cleaning advice online treats this as one job with one answer. It is not one job. Lifting loose surface dust off a record you played last Tuesday has almost nothing in common with rescuing a dollar-bin copy that spent fifteen years in a garage. The tools are different, the risk profile is different, and the mistakes are different. This guide separates them into three levels, says plainly when each one is worth doing, and ends with the handful of things that genuinely damage records.
The three levels of record cleaning
The reason the levels exist is scale. An LP groove is cut fine enough that ordinary household dust is a meaningful object inside it, not a speck on top of it. A dry brush can only reach what sits on the surface and in the upper part of the groove. Anything bonded to the vinyl by grease or old fluid needs a liquid to release it, and anything trapped at the bottom of the groove needs energy behind that liquid.
grooves per inch on a microgroove LP, against roughly 100 per inch on a shellac 78
— IASA TC-04, section 5.3, 2009
| Level | What it removes | Time per side | What it takes | How often |
|---|---|---|---|---|
| 1. Dry brushing | Loose dust, lint, sleeve fibers | About 30 seconds | A brush, from $29.95 for our set | Before and after every play |
| 2. Wet cleaning | Fingerprints, release agent, smoke film, ground-in grit | 5 to 10 minutes | Distilled water, fluid, a sink or a vacuum machine | Once per record, on arrival |
| 3. Ultrasonic | Debris bonded deep in the groove walls | 3 to 8 minutes | A dedicated tank, the most expensive option by far | Rarely, for problem records |
Almost every collection only ever needs the first two. Level 3 is a real technology with real results, and it is also the level where people spend the most money for the smallest audible gain. If your records are clean and quiet after a wash, an ultrasonic tank will not make them quieter.
Level 1: dry brushing before every play
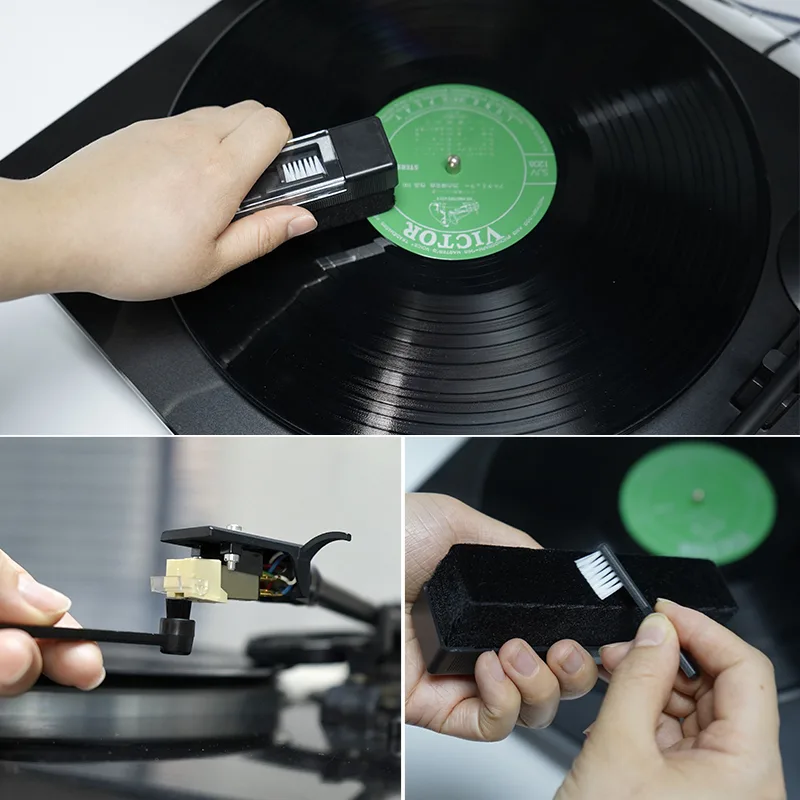
The mechanics matter more than the tool. Dust needs somewhere to go, so a brush should collect it and carry it off the disc rather than pushing it around. That means keeping the brush stationary while the platter turns, then drawing it off the outer edge in one continuous move at the end. Lifting it straight up in the middle of the record just drops half the load back into the grooves.
(15-25 µm) tip radius range archives use to replay microgroove LPs, which is the same order of size as ordinary dust
— IASA TC-04, section 5.3, 2009
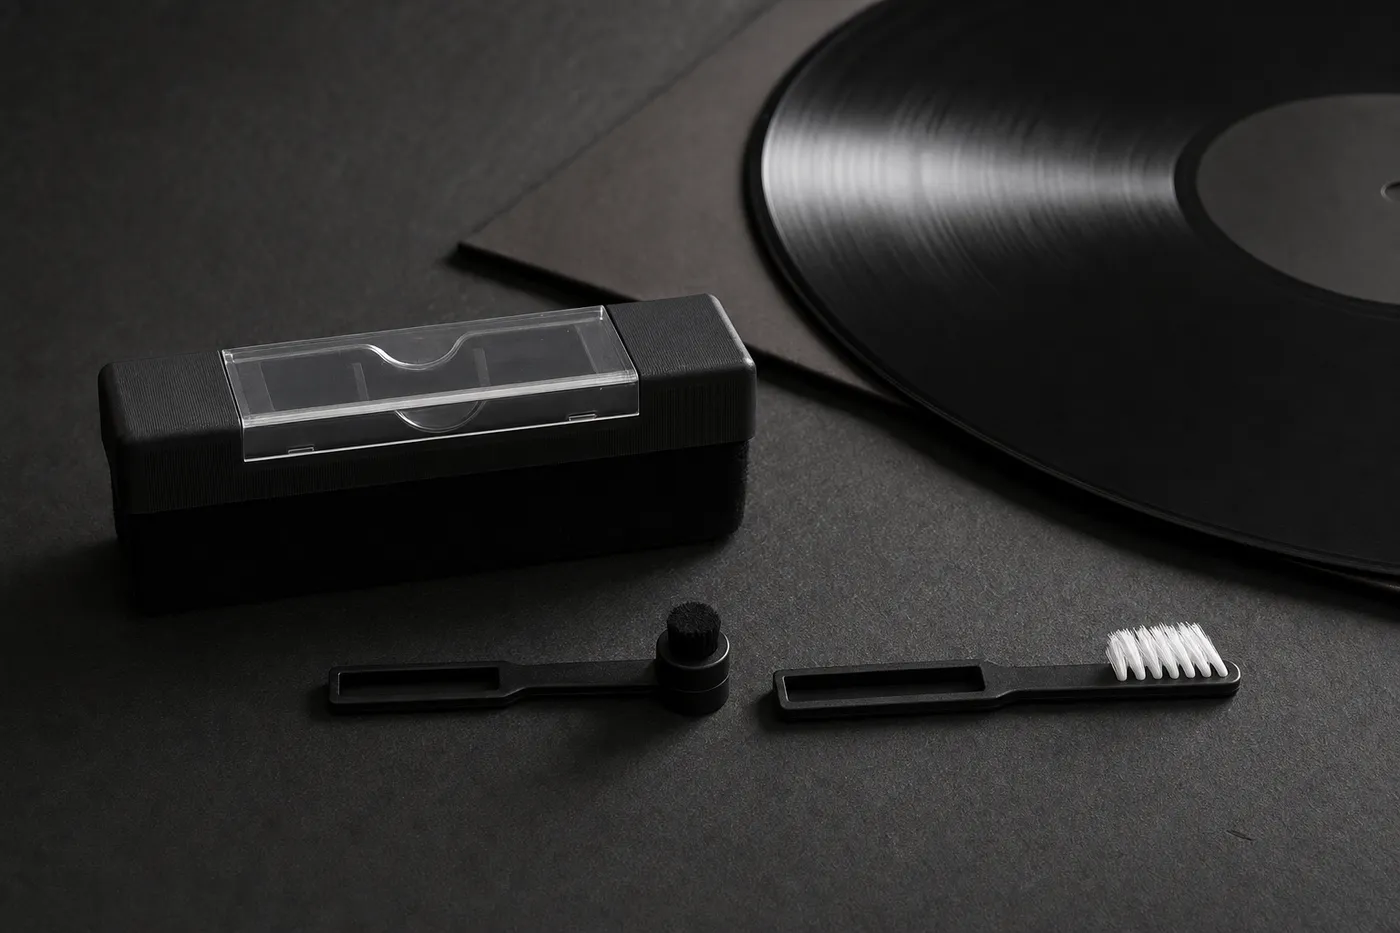
Our own set covers this level. The velvet block is a firm pad wrapped in black velvet, about 4.9 in (12.5 cm) long, with a clear sliding cover that doubles as a handle and keeps the velvet clean between sessions. The wide face is the point: it contacts a broad arc of the record at once and holds what it picks up. When the velvet starts to look loaded, the white nylon detail brush in the same set re-combs it in a few passes. The full breakdown of the three pieces sits on the record cleaning kit page, and the anti-static side of the job is covered on the anti-static record brush page.
If you want the other side of that argument, we wrote a comparison of carbon fiber versus velvet record brushes, including the things carbon fiber does better than velvet.
Level 2: wet cleaning a used record
Archive practice for this is unglamorous. Wash with demineralized water and a mild detergent, keep the label dry, then rinse properly so nothing is left behind. Detergent residue is its own contaminant, and a record that dries with soap in the groove will sound worse than it did dirty. Rinsing is not the optional step.
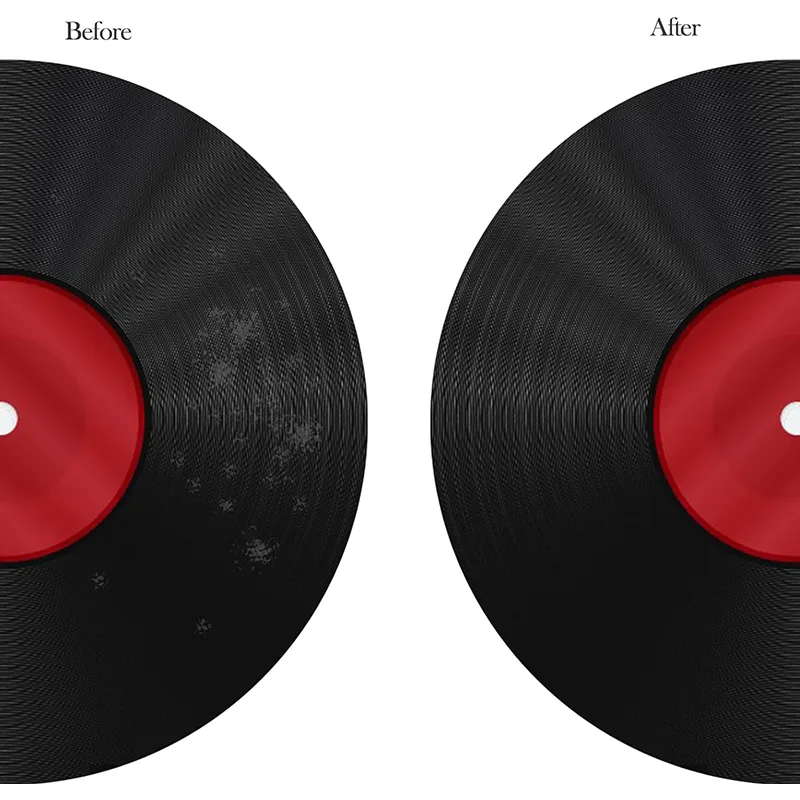
Three details separate a good wash from a bad one. Keep the label out of the water, because paper labels stain and lift. Move with the grooves in a circular motion, never in a straight line across them. Dry the record on a rack or with a fresh microfiber cloth used gently along the groove direction, and give it a few minutes of air before sleeving it. A damp record in a paper sleeve is how paper fibers end up bonded to vinyl.
isopropyl alcohol is limited to vinyl discs in archive guidance, which warns that non-vinyl discs may be affected by it
— IASA TC-04, section 5.3, 2009
Alcohol deserves its own warning, and it is in the table at the end of this guide. The short version is that a small amount of isopropyl in a cleaning mix is common practice for modern vinyl LPs and it is a genuinely bad idea on anything older.
Level 3: ultrasonic machines, and when they earn their price
range of operating frequencies published for consumer ultrasonic record cleaners, with higher frequencies producing smaller cavitation bubbles
— Published specifications of consumer ultrasonic record cleaners, 2026
Frequency is the interesting variable. Lower frequencies produce larger and more energetic bubbles, while higher frequencies produce many smaller ones with a finer and more even action. Manufacturers disagree about which is better for vinyl, which tells you the difference is not enormous. What they agree on is that the record has to rotate slowly through the bath so no part of it takes a concentrated hit.
A machine earns its price when you regularly bring home records that stay noisy after a proper hand wash, when you clean in batches, or when you deal with archival material where every pass counts. A used record that a dry brush cannot quieten is a level 2 job first: the hand wash above costs nothing but ten minutes and solves it in most cases.
Cleaning old records bought secondhand
Decades of storage leave layers on a disc: loose dust on top, a bonded film of smoke and old fluid under it, and — in damp garages and basements — surface mold feeding on the paper sleeve. The layers come off in the order they went on, which is why staging matters. Brushing first means the wash is not grinding grit along the groove, and washing before the mold pass shows you what is actually bloom and what was just dirt.
The one thing an old record should never get is a soak. Submerging the disc waterlogs the label, which stains and lifts, and moisture trapped under the label or inside a jacket invites the mold straight back. Work flat instead, label kept dry, groove direction only. For visible mold, add a dedicated pass with a cloth barely dampened in the same mix, then rinse that area again — spores wipe off vinyl far more readily than they leave paper.
Once the disc is dry, retire its old inner sleeve: paper that has lived with mold reinfects a clean record. A fresh anti-static inner and an upright shelf finish the rescue, and from then on the record only needs the level 1 pass above — the job the record cleaning kit exists for.
What you should never do to a record
| Never do this | What happens | Do this instead |
|---|---|---|
| Isopropyl or denatured alcohol on a 78 rpm shellac disc | Alcohol is a solvent for shellac. It softens the surface and, with enough contact time, dissolves the record itself. | Distilled water with a trace of mild detergent, a soft brush, a thorough rinse. |
| A dry cloth on a dusty record | The cloth drags hard particles across the vinyl under pressure and scratches what it was meant to clean. | Lift the dust off first with a brush that holds it, or wet clean if it is heavily soiled. |
| Wiping in a straight line across the grooves | A radial wipe crosses every groove wall in the path and pushes debris from one groove into the next. | Follow the groove direction, circular, with the record supported. |
| Tap water for washing or rinsing | Dissolved minerals dry inside the groove and leave a deposit the stylus then has to ride over. | Distilled or demineralized water only, including the rinse. |
| Sleeving a record that is still damp | Paper fibers stick to wet vinyl, and trapped moisture is an invitation to mold. | Air dry fully on a rack, then use a clean anti-static inner sleeve. |
Two of those items are about storage as much as cleaning, which is the lesson of this whole guide. A record kept upright in a good inner sleeve in a stable room stays clean for years. We put the full method in how to store vinyl records, and the day-to-day version in the vinyl record care routine.
Short answers
How often should I clean my vinyl records?
Dry brush before and after every play. Wet clean once, when a record first arrives, and again only if it starts sounding noisy in a way that brushing does not fix. A record that lives in a good sleeve and gets brushed does not need repeat washing.
Is Dawn dish soap safe for cleaning vinyl records?
Diluted hard, yes — a single drop in a basin of distilled water, in line with the trace of mild detergent archive practice describes. The risk is the rest of the bottle: degreasers, fragrance and dyes that dry inside the groove. Keep the dose to a drop and rinse completely with clean distilled water. Soap left behind attracts new dirt, so an unrinsed wash is worse than no wash.
What does the wood glue method do to a record?
Something real: wood glue spread over the playing surface dries into a film that pulls groove debris out with it when peeled. The risks are just as real — patches of film left behind, tears mid-peel, glue creeping onto the label — and one botched peel leaves residue in the grooves that a wash struggles to remove. A staged wet clean lifts the same grime with nothing bonded to the record, which is why it stays our method.
Can WD-40 clean vinyl records?
No. WD-40 is a petroleum-based lubricant, not a cleaner. It leaves an oily film that fills the groove, collects new dust and transfers to the stylus, and removing that film takes more work than the original dirt did. Nothing on a record needs lubricating. Distilled water with a trace of detergent removes fingerprints and grime and rinses away clean.
Does cleaning a record remove scratches?
No. Cleaning removes what sits in the groove, which is often the real cause of clicks people blame on scratches. A true scratch is displaced vinyl and no cleaning method restores it. If a record is quiet after a wash, the noise was dirt.
Cover level 1 properly
Levels 2 and 3 are occasional. Level 1 is the one that happens hundreds of times a year, and it is the one that keeps the other two rare. Our three-piece set exists for that job: the velvet block for the disc, the stylus brush for the diamond, and the detail brush to keep the velvet working. Read what buyers said on the reviews page, or see the bench it was tested on in how we test.
More guides: all Tonebrush guides · cleaning a record player needle · the stylus brush · about Nick Talbot